How to Add a Short & Long Description to a Shopify Collections Page Template
Posted: June 17th, 2019
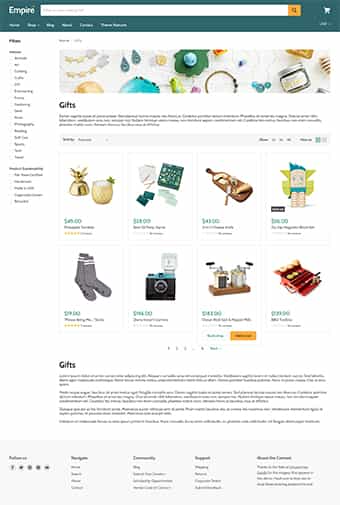
Many Shopify themes display the description text for a collection page above the product listings. This can pose a usability issue if your store has large descriptions which consume the viewport, especially on mobile devices. This may lead to increases in bounce rates and drops in conversion rates as users may not scroll to reach the collection’s product list/grid.
One solution may be to only have short collection descriptions; however, this would have an impact on any SEO efforts due to low word counts. It may also hinder your company from having the room to provide the users with all of the relevant content that they may wish to read, to be able to make an informed decision about your products.
The ideal solution would be to have two description fields for your collections page. With other e-commerce platforms such as Magento, you could fashion a solution to create multiple fields or utilise CMS blocks to add separate short and long descriptions to your category pages.
Shopify does not present this same opportunity for us, however, there is a relatively simple development that can be made to your theme’s template that will allow us to split a collection description and show it in separate areas of the page.
Modifying the Shopify Theme
The first step is to modify the active Shopify theme for your store to implement the code that will split our description field. Take the following steps to enter the code editor for your theme.
- Log in to your Shopify store’s admin.
- Use the left-hand menu to navigate to: Online Store > Themes.
- Click the drop-down menu labelled Actions on the “Live Theme”, then click the edit code link.
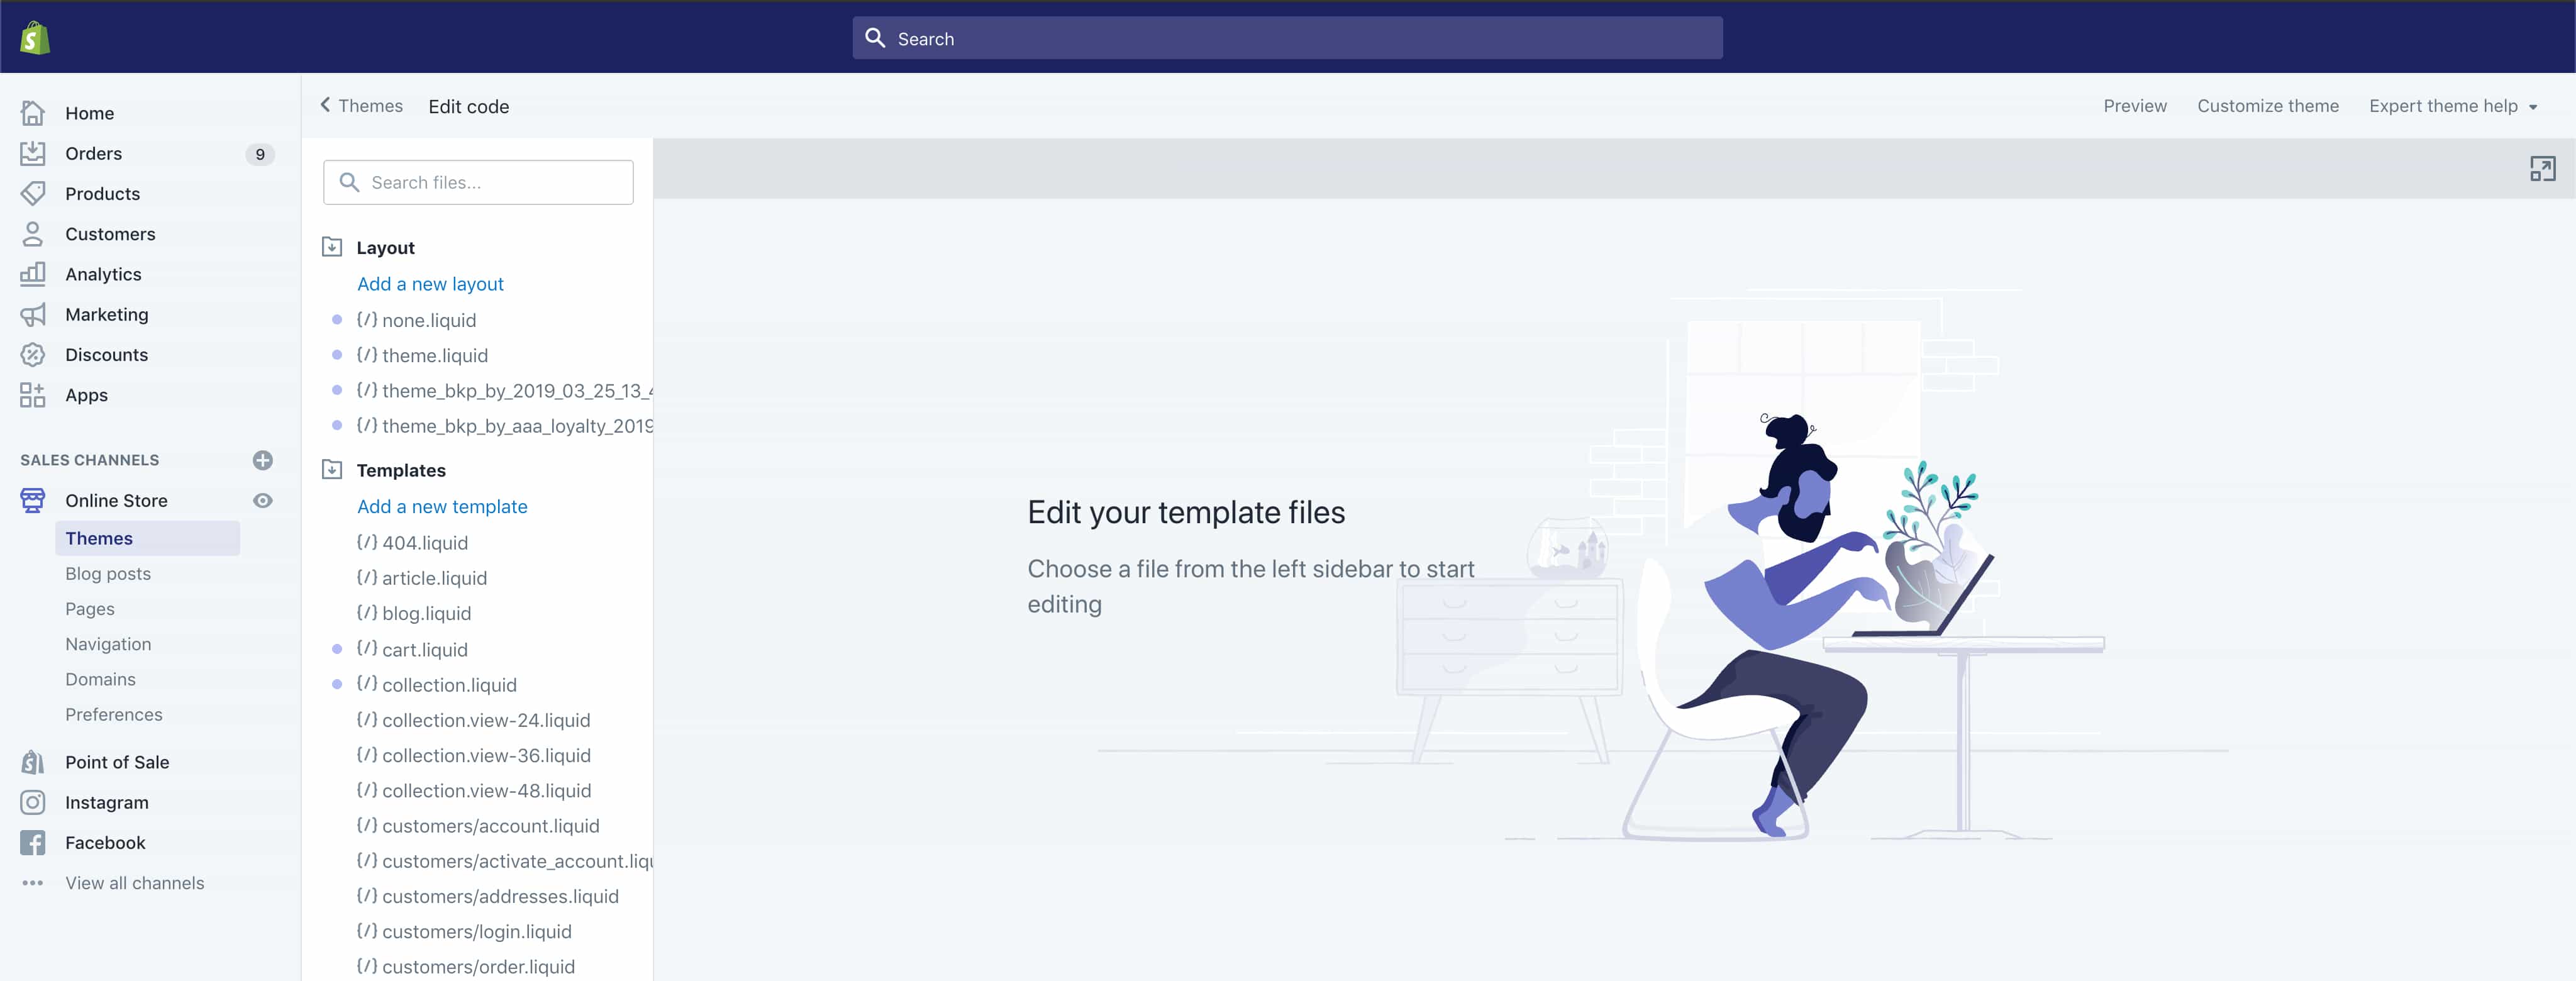
Now that the code editor for the live theme has been accessed, the next step is to locate the collections theme file that calls and displays the collection description.
- Navigate the left-hand file structure and open the collection.liquid file from within the “Templates” directory. This file will either contain the entire code used to render the collection pages for your theme or reference the include file that does.
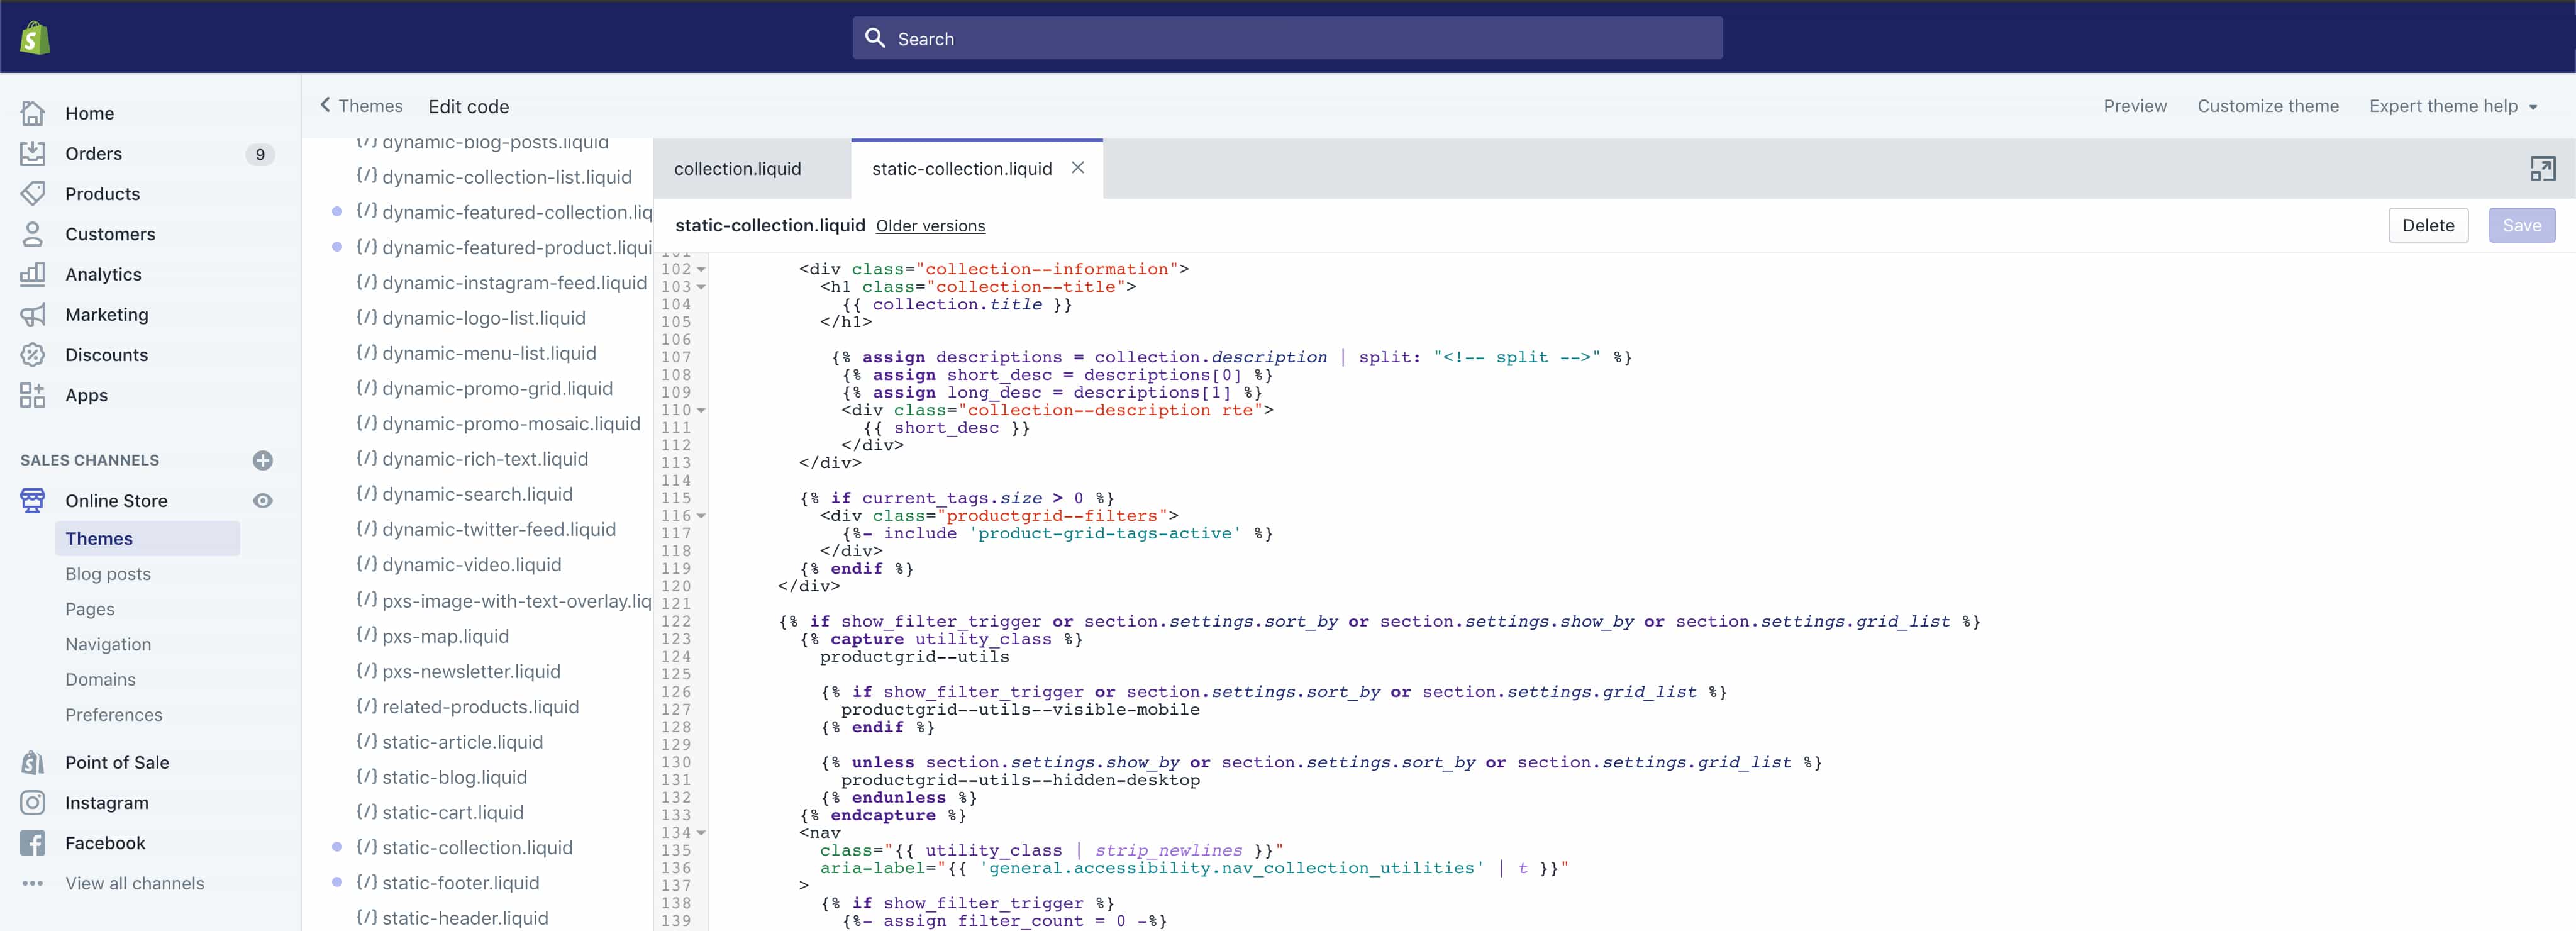
- The way to identify if this file will need to be edited is to perform a search within the code for
{{ collection.description }} - If the description is not referenced in the above file, there will be a separate include that is being used to render the page, such as
{% section 'static-collection' %} - Navigate the left-hand file structure of template includes and open the template file referenced, in this case, it is: static-collection.liquid contained within the “Sections” directory.
In most cases, the collection.liquid file will only reference an include for the file that is used to render a collection page. It may be the case that it references an entirely different .liquid file to edit, so please adjust these steps accordingly.
Once the correct file is open within the editor that contains {{ collection.description }} you will need to replace the following line of code:
{{ collection.description }}The code that will replace it is:
{% assign descriptions = collection.description | split: "<!-- split -->" %}
{% assign short_desc = descriptions[0] %}
{% assign long_desc = descriptions[1] %}
This code is essentially calling the collection description and then creating two separate descriptions with the text sound before and after the <!–split –>. The code then assigns each a new variable name; in this example, they are short_desc and long_desc.
Now that the description is being split to essentially create two descriptions, each variable needs to be called within the file to display each. Simply add the following to call the first portion of the description before the <!–split –>:
{{ short_desc }}To display the second part of the description entered after the <!–split –> use the following code:
{{ long_desc }}Now, click the save button.
Please note that additional HTML may be required to contain each and display the descriptions as desired, so implement the appropriate code as required.
Splitting the Collections Description
Now that the changes have been implemented to the themes collection template, the final step is to add the <!– split –> to each collection description within Shopify’s admin.
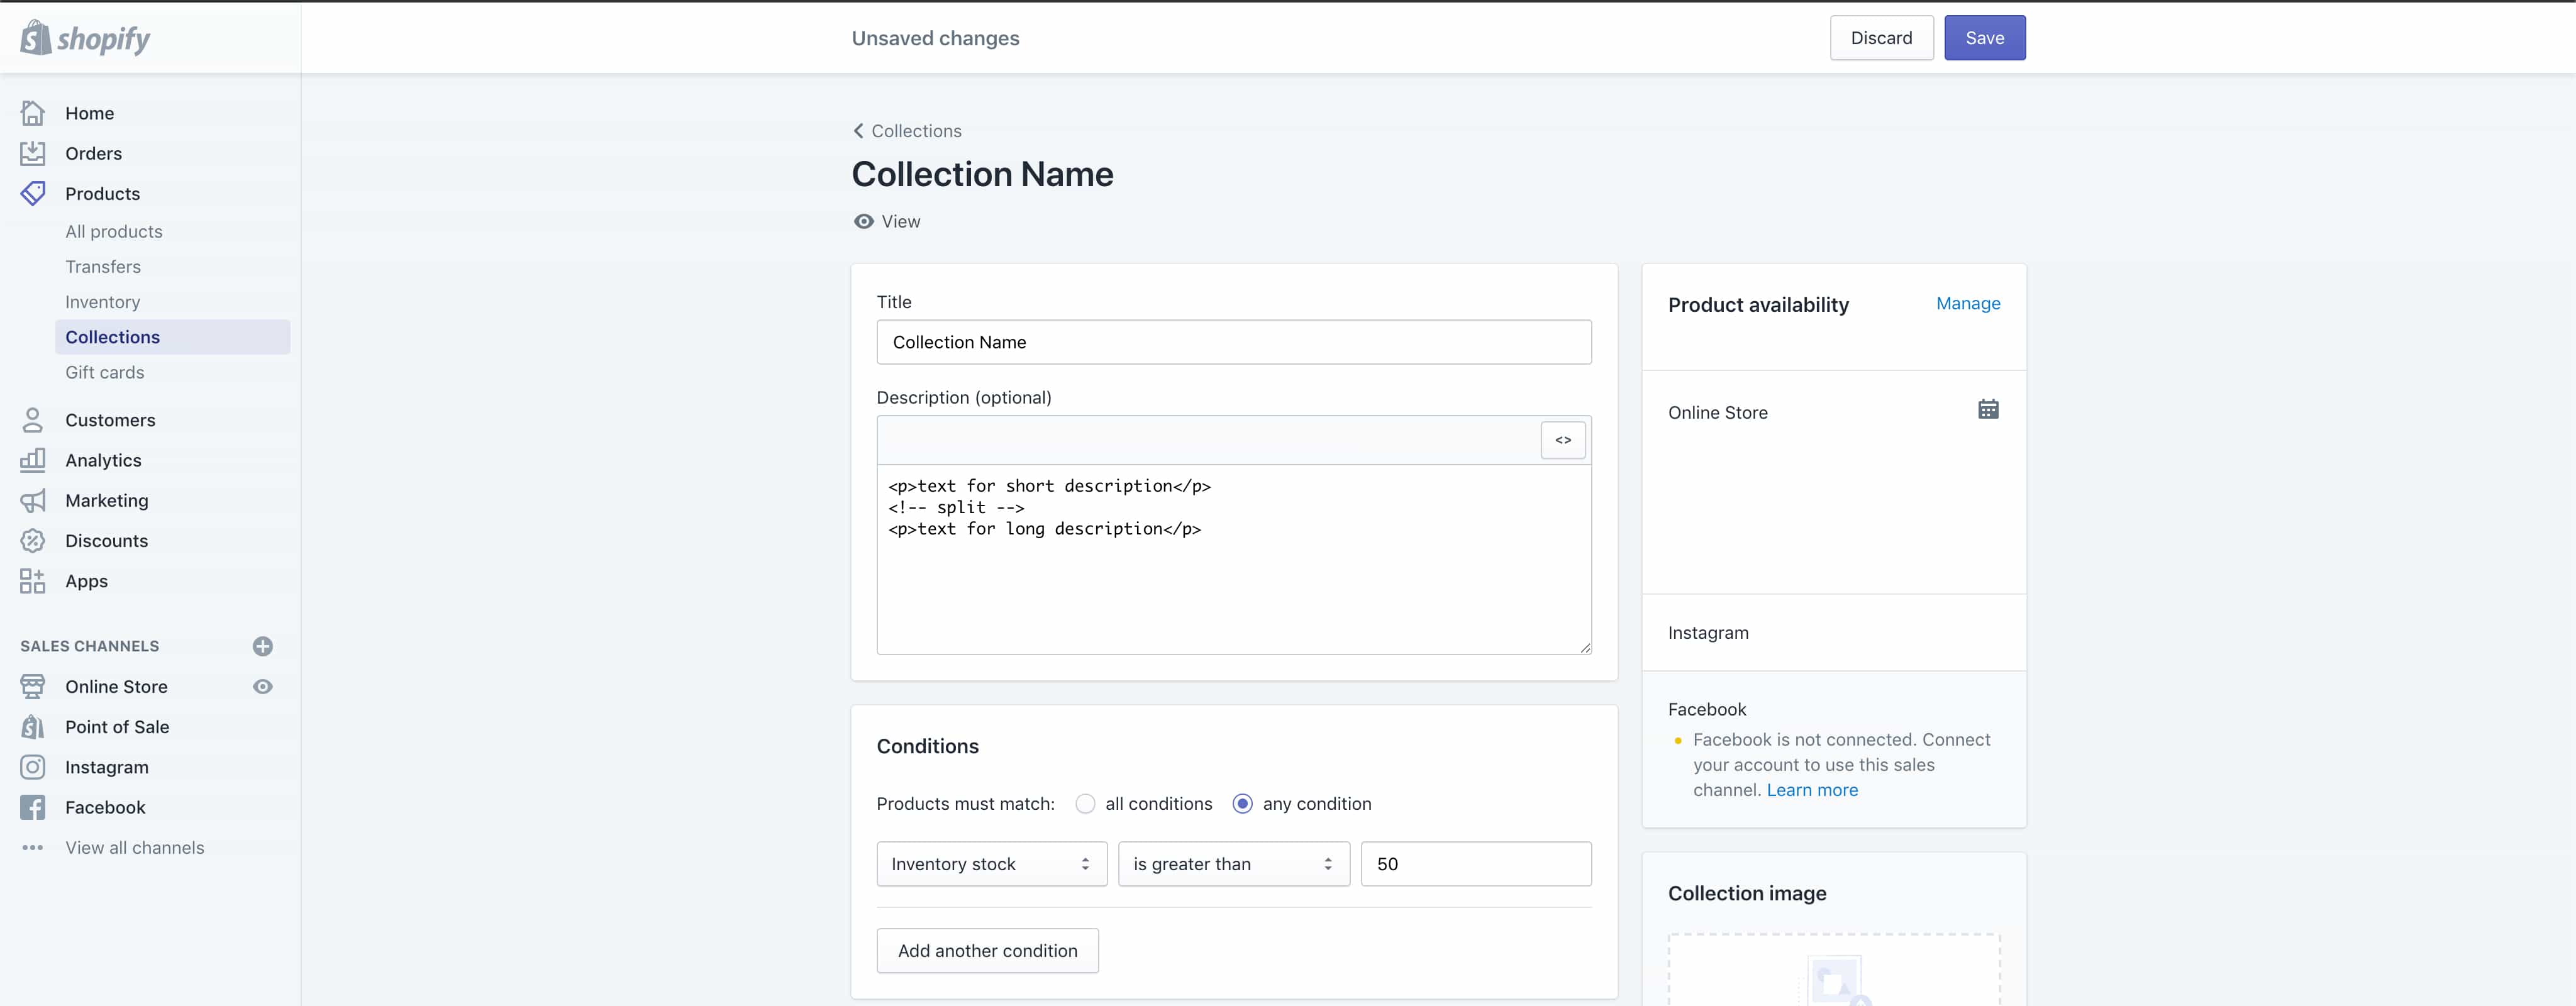
- Use the left-hand menu to navigate to: Products > Collections.
- Select your desired collection to edit.
- Click the Show HTML button in the description fields WYSIWYG editor. Please note that the split code must be entered in the HTML editor to save correctly.
Enter the content that will form the short description, then the split tag, followed by the longer description as demonstrated below.
<p>text for short description</p>
<!-- split -->
<p>text for long description</p>
- Click the save button to save the changes to the collection.
Once implemented, check the edited collection on the front end of your Shopify site to test that there are now two separate descriptions being displayed. If the description of a collection is empty, then no content will be displayed, and if the split code is not present, the whole description will be displayed in the position of the short description.
If you encounter any issues with the code functioning correctly, don’t panic. One of the benefits of the Shopify theme editor is the revision history. So, if a change made to a template file breaks the front end, it’s a simple process to click the “older versions” link followed by selecting the last version of the file from the drop-down list.
Author Biography
Mathew
A 14 year industry veteran that specialises in wide array of online marketing areas such as PPC, SEO, front end web development, WordPress and Magento development.
Accredited Google Partner & Bing Ads qualifications, BA (Hons) in Digital Marketing. One half of the Director duo at Kumo.
Company Number: 07865143 | Company VAT: 177073296